Develop Diverse is available as a Microsoft Word Add-In, allowing you to seamlessly integrate its features into your documents. Here’s how to quickly install and start using Develop Diverse in Microsoft Word.
Notice: Microsoft Word Add-In requires the Professional plan and requires set up by your Microsoft Administrator.
Step 1: Access the Add-Ins
To begin, you’ll need to access the Add-Ins section in Microsoft Word:
Option 1: Go to the Help menu and type “Add-Ins” (or “tilføjelsesprogram” in Danish)
in the search bar to quickly locate the Add-Ins option.
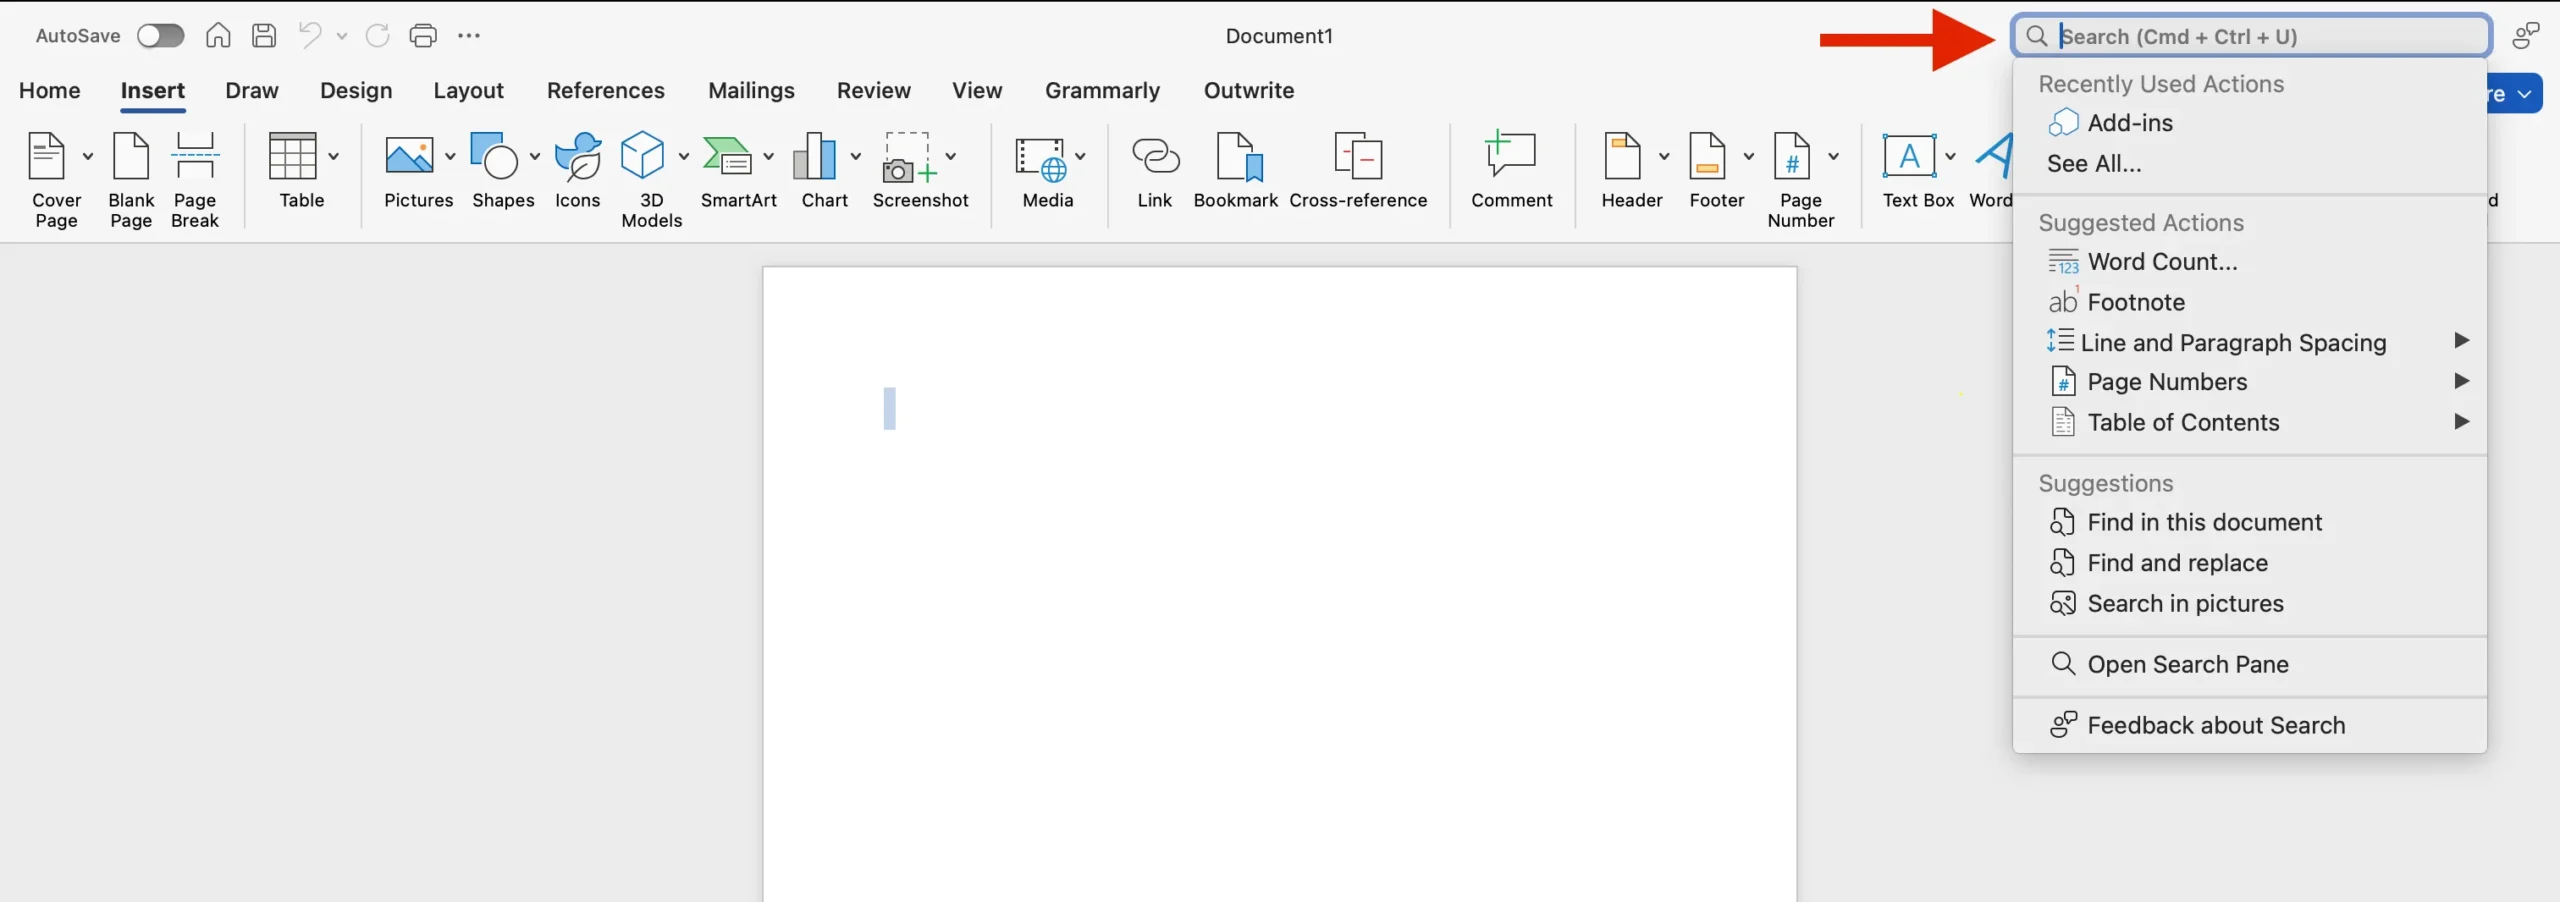
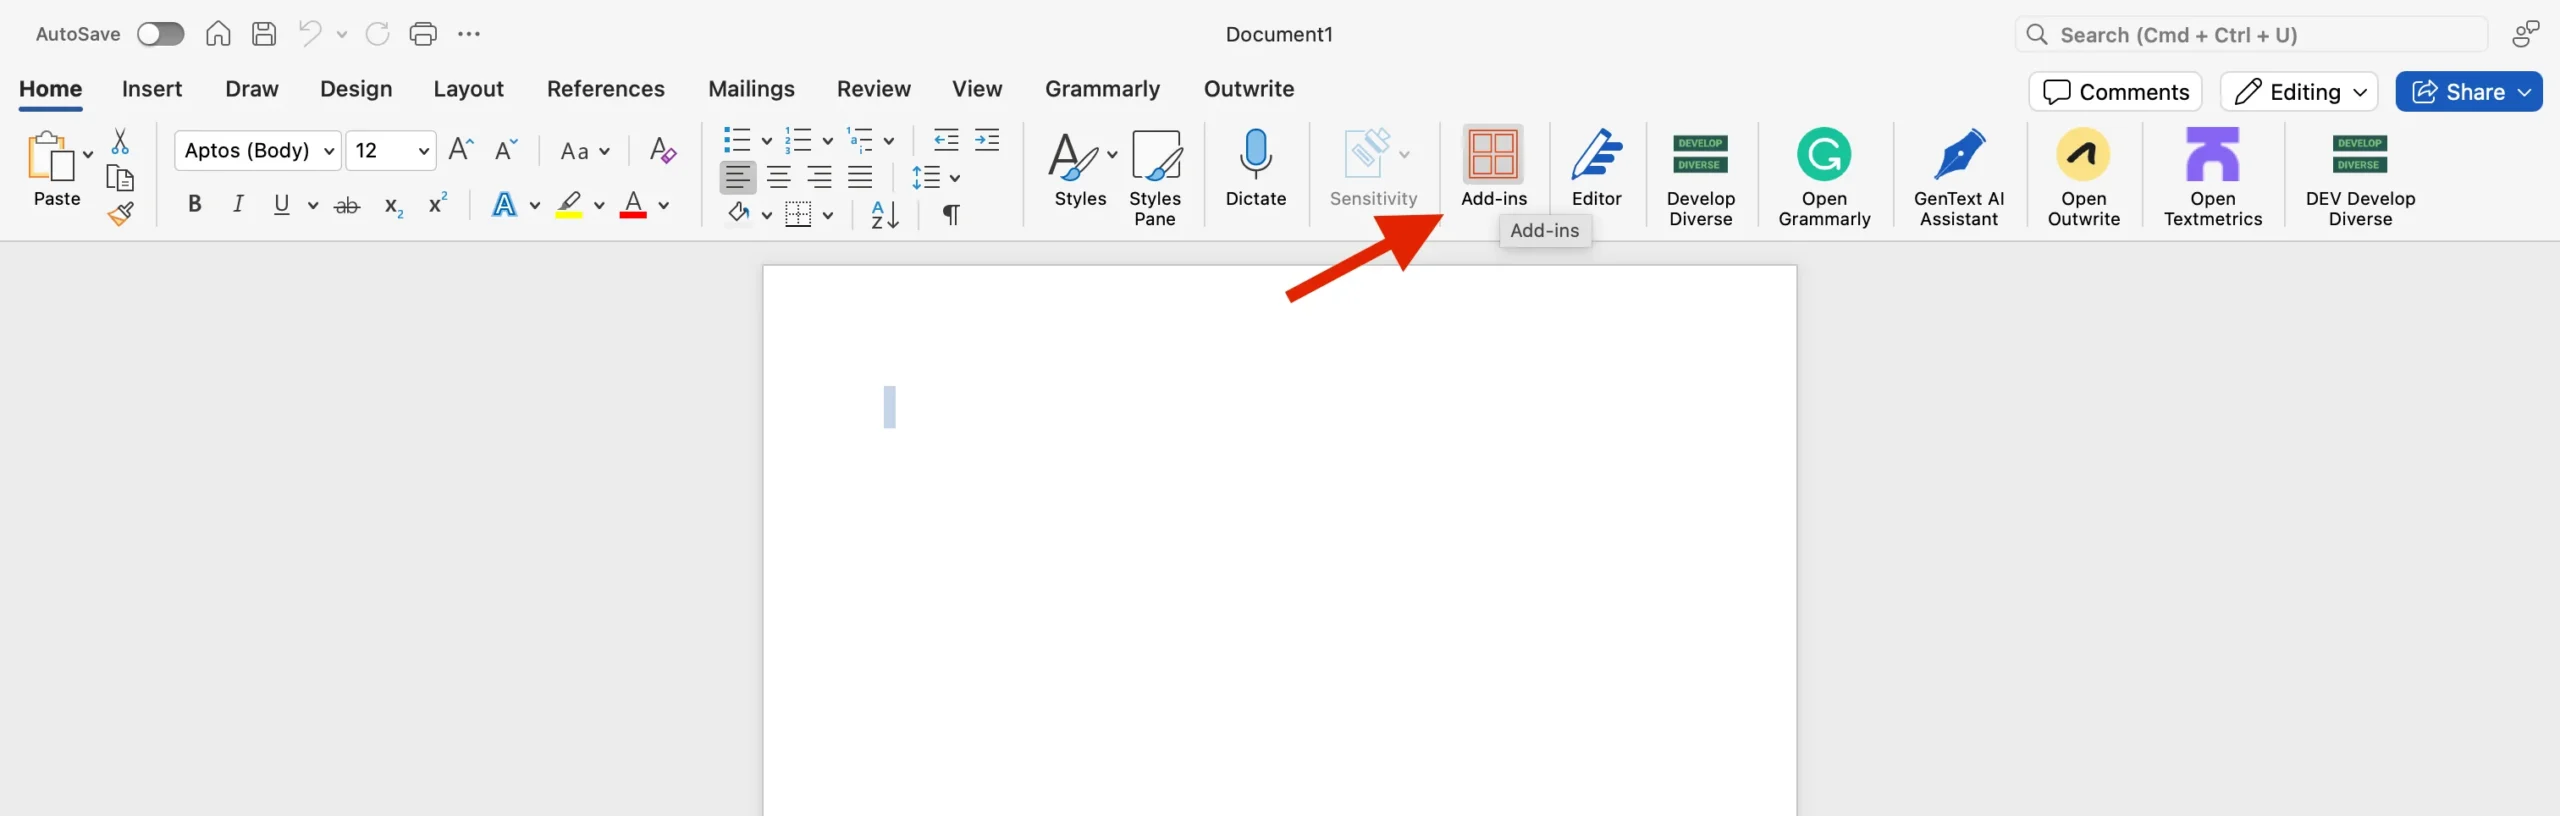
Option 2: From the Home tab, select “Add-ins” directly to view your available Add-Ins.
Depending on your version of Microsoft Word, you may find the Add-Ins in different locations:
Option 3: Select either File > Get Add-ins or Insert > Add-Ins > Get Add-ins.
Step 2: Install Develop Diverse
Once you’ve accessed the Add-Ins section:
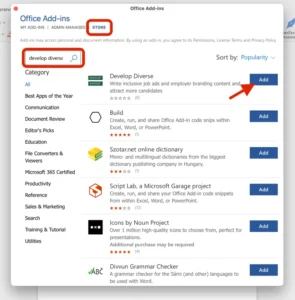
- In the Office Add-ins dialog, navigate to the Store tab.
- Search for “Develop Diverse” in the search bar.
- Once found, click on “Add” to install Develop Diverse.
Step 3: Start Using Develop Diverse
After installation, you’ll find Develop Diverse in the top right corner of the Home tab. Click on Develop Diverse and it will open the add-in.
Login.
Create a new document by “Create” or continue with an existing document by clicking on one of the documents that are shown in “Continue working”.
Once the analysis is complete, you will see a list of issues that are detected in your text. Click on an issue to learn more and to replace it with alternative words or sentences.
With these steps, you’re all set to enhance your documents using Develop Diverse in Microsoft Word!